how to repot plants
How to Repot Plants: A Step-by-Step Guide for Thriving Greenery
Repotting your plants can seem like a daunting task, but it’s an essential part of keeping them healthy and thriving. Whether your plant has outgrown its current pot or the soil needs a refresh, repotting can give your greenery the boost it needs to flourish. In this guide, we’ll walk you through the process step-by-step.
Why Repotting is Important
Plants need repotting for several reasons. Over time, they can outgrow their pots, becoming root-bound, which limits their ability to absorb nutrients. Additionally, soil can lose its nutrients or compact, preventing proper drainage. Repotting allows plants to grow freely and ensures they have access to fresh, nutrient-rich soil.
When to Repot Your Plants
Knowing when to repot your plants is just as important as the process itself. Here are some signs your plant might need repotting:
- The roots are growing out of the drainage holes or circling the bottom of the pot.
- The plant looks stunted or stops growing despite proper care.
- The soil dries out too quickly after watering.
- It’s been more than a year since the plant was last repotted.
What You’ll Need
Before you start, gather the following supplies:
- A new pot (preferably 1-2 inches larger in diameter than the current one)
- Fresh potting soil suitable for your plant type
- Gardening gloves (optional)
- A trowel or spoon
- Watering can
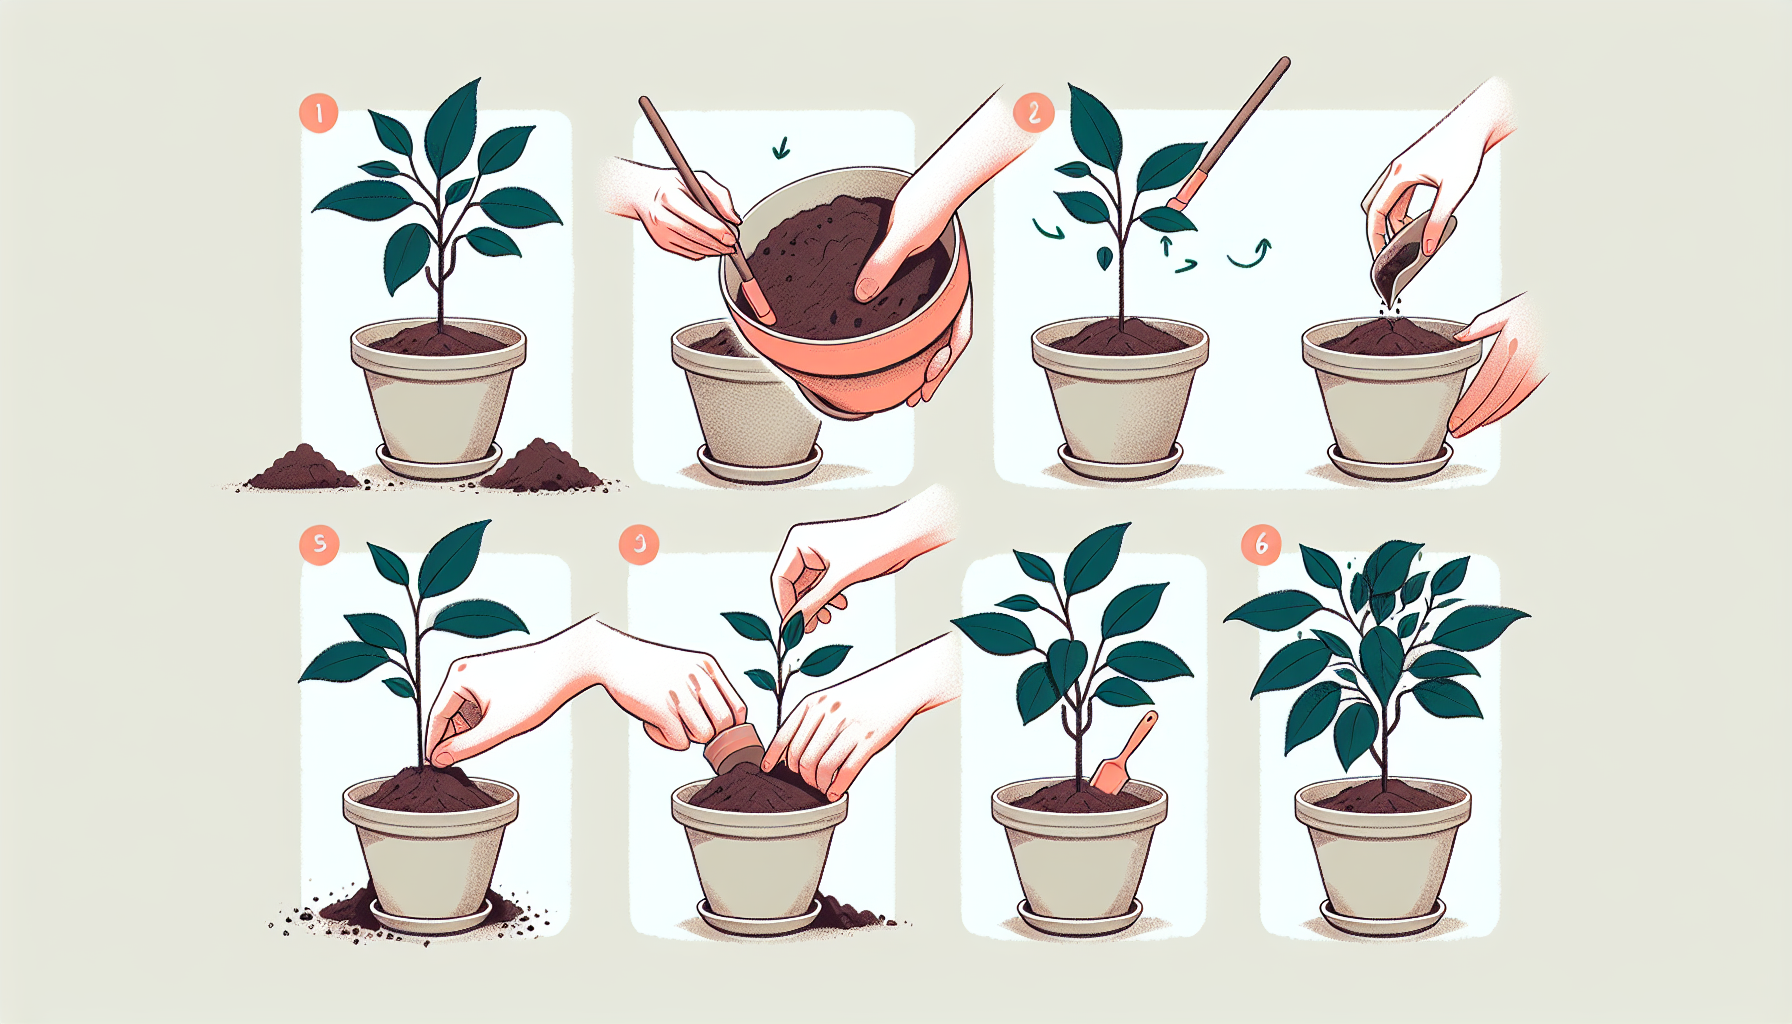
Step-by-Step Repotting Process
Step 1: Choose the Right Pot
Select a pot that’s slightly larger than your current one. Ensure the pot has drainage holes to prevent water from pooling at the bottom, which can lead to root rot.
Step 2: Prepare the New Pot
Place a layer of fresh soil at the bottom of the new pot. This will give your plant’s roots room to spread and grow.
Step 3: Remove the Plant from Its Current Pot
Gently tilt the plant’s current pot and carefully remove the plant. If the plant is stuck, tap the sides of the pot or loosen the soil with a trowel. Be cautious not to damage the roots.
Step 4: Inspect and Trim the Roots
Check the roots for any signs of damage or rot. If you find any, trim them using clean scissors or pruning shears. If the roots are tightly bound, gently loosen them to encourage growth.
Step 5: Place the Plant in the New Pot
Position the plant in the center of the new pot and add fresh soil around the roots. Make sure the plant is at the same depth as it was in the previous pot, with the base of the stem above the soil line.
Step 6: Water Thoroughly
Once the plant is securely in its new pot, water it thoroughly to help settle the soil and hydrate the roots. Be careful not to overwater.
Step 7: Find the Perfect Spot
Place your newly repotted plant in a location that suits its light and temperature needs. Avoid direct sunlight for a few days to reduce stress.
Tips for Successful Repotting
- Repot plants during their growing season, typically spring or early summer.
- Use soil that is specifically designed for your plant type, such as cactus mix for succulents or peat-based soil for tropical plants.
- Don’t repot too frequently; most plants only need repotting every 1-2 years.
Conclusion
Repotting your plants doesn’t have to be intimidating. With the right tools and techniques, you can give your plants the fresh start they need to thrive. Regularly checking your plants for signs of overcrowding or nutrient depletion will help ensure they stay happy and healthy.
If you’re ready to tackle your next repotting project, why not start today? Your plants will thank you with lush, vibrant growth!
For more gardening tips and tricks, check out our Gardening blog category.