how to plant strawberry seeds
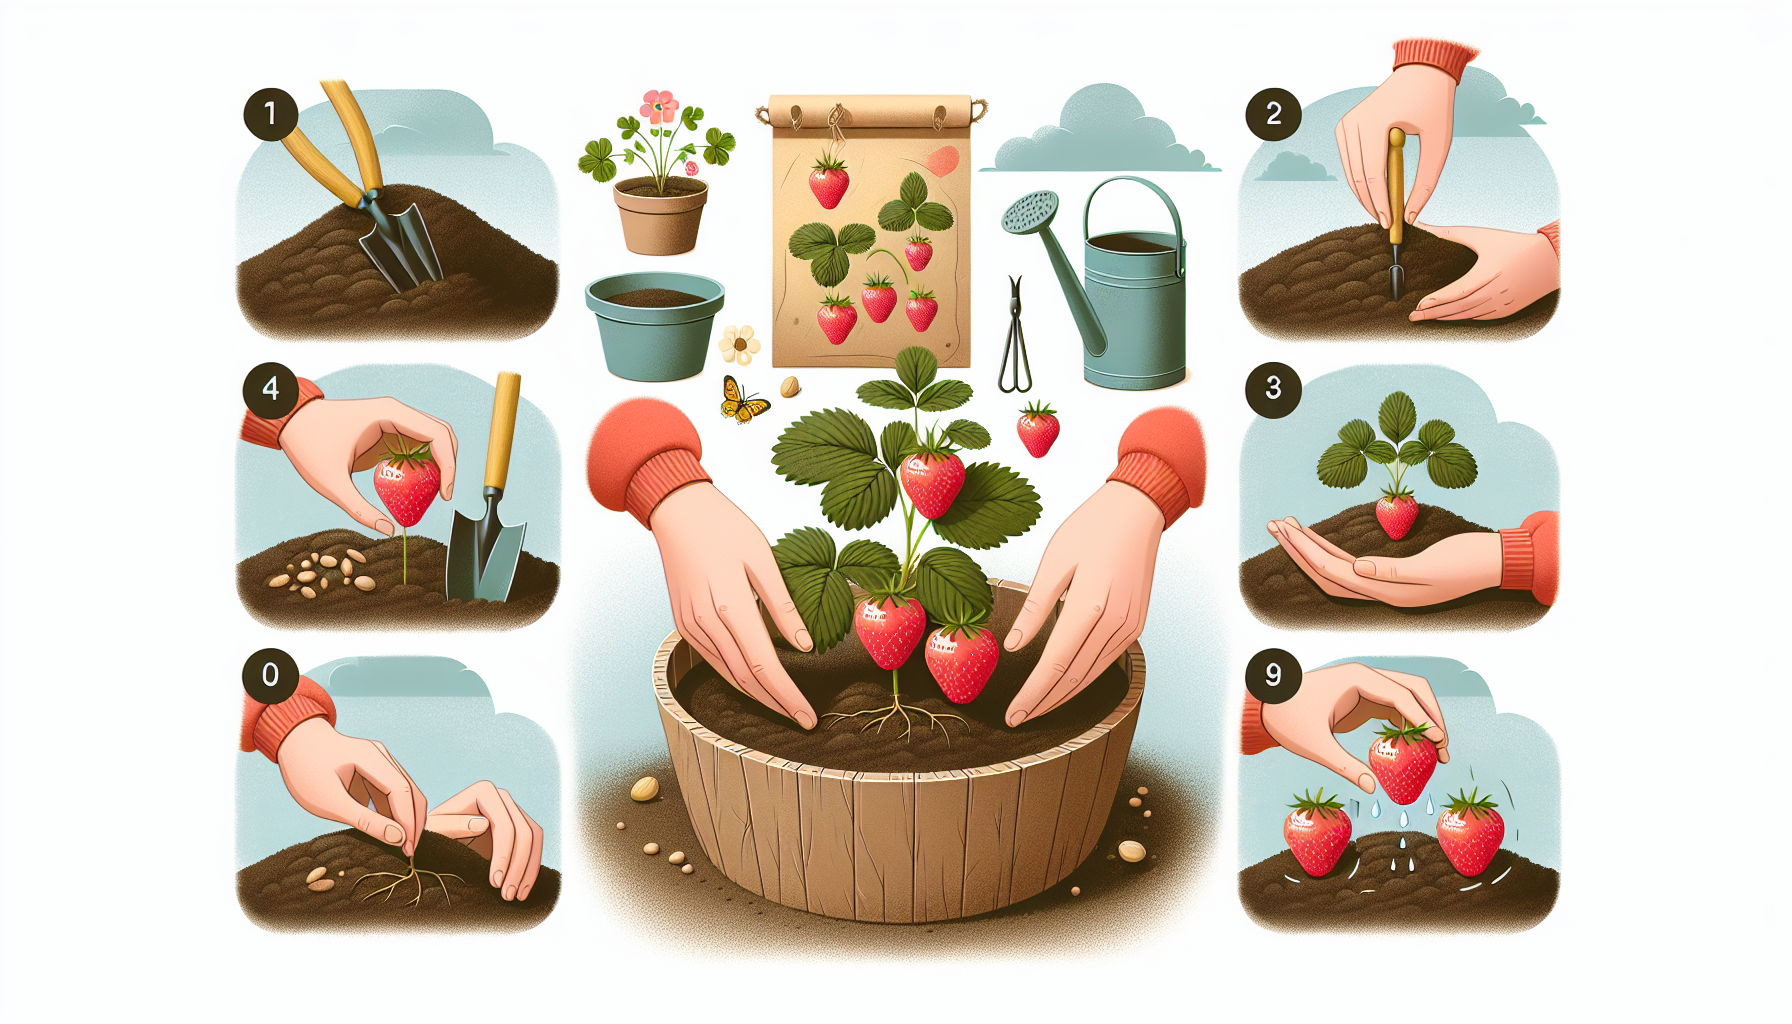
How to Plant Strawberry Seeds: A Step-by-Step Guide for Beginners
Strawberries are one of the most rewarding fruits to grow at home. With their sweet and juicy flavor, they’re a favorite for gardeners and food enthusiasts alike. While most gardeners opt for strawberry plants, growing strawberries from seeds can be a fun and satisfying process. In this guide, we’ll walk you through everything you need to know about planting strawberry seeds, from preparation to care.
Why Grow Strawberries from Seeds?
Growing strawberries from seeds allows you to experiment with different varieties, save money, and experience the joy of nurturing plants from scratch. It’s also an excellent way to ensure your plants are pesticide-free and grown organically.
What You’ll Need
- Strawberry seeds (choose a variety suited for your climate)
- Seed trays or small pots
- Seed-starting soil mix
- Plastic wrap or a humidity dome
- A sunny windowsill or grow light
- Watering can or spray bottle
Step 1: Prepare Your Strawberry Seeds
Strawberry seeds need cold stratification to germinate successfully. This mimics the natural winter conditions the seeds would experience outdoors. Follow these steps:
- Place the seeds in a damp paper towel, fold it, and seal it in a plastic bag.
- Store the bag in the refrigerator for 2-4 weeks. Check occasionally to ensure the paper towel stays damp.
Once the seeds have undergone cold stratification, they’re ready to be planted.
Step 2: Sow the Seeds
Fill your seed trays or small pots with a seed-starting soil mix. Gently press the soil to remove air pockets, but don’t compact it too tightly. Sprinkle the strawberry seeds on top of the soil and cover them with a very thin layer of soil (about 1/8 inch).
Lightly mist the soil with water using a spray bottle. Cover the trays or pots with plastic wrap or a humidity dome to retain moisture.
Step 3: Provide the Right Conditions
Place the seed trays or pots in a warm, bright location. Strawberry seeds require light to germinate, so make sure they receive plenty of indirect sunlight or use a grow light. Keep the soil consistently moist but not waterlogged.
Germination can take anywhere from 1 to 6 weeks, so be patient!
Step 4: Transplant the Seedlings
Once the seedlings have at least two sets of true leaves, they’re ready to be transplanted. Gently remove the seedlings from the trays and plant them in larger pots or directly in your garden. Space them about 12 inches apart to allow for growth.
Ensure the soil is rich, well-draining, and slightly acidic (pH 5.5-6.5). Add compost or organic matter to enrich the soil if needed.
Step 5: Care for Your Strawberry Plants
Water your strawberry plants regularly, keeping the soil moist but not soggy. Mulch around the plants to retain moisture, suppress weeds, and protect the roots. As your plants grow, remove any runners to encourage fruit production.
Fertilize your plants with a balanced fertilizer during the growing season. Once they start flowering, switch to a fertilizer high in potassium to promote fruiting.
When to Harvest Strawberries
Your strawberries will be ready to harvest when they are fully red and ripe. Gently pick them off the plant, leaving the green caps intact. Freshly picked strawberries are best enjoyed immediately, but they can also be stored in the refrigerator for a few days.
Additional Tips for Success
- Choose an everbearing variety if you want strawberries throughout the growing season.
- Protect your plants from pests like slugs and birds by using netting or organic pest control methods.
- If you live in a colder climate, consider growing strawberries in containers that can be brought indoors during winter.
By following these steps, you’ll soon enjoy the satisfaction of growing your own strawberries from seeds. Whether you’re planting them in your garden or in containers, the effort is well worth it for the delicious reward. Happy gardening!
For more gardening tips and tricks, check out our Gardening Tips page.