how to plant sprouted potatoes
How to Plant Sprouted Potatoes
Planting sprouted potatoes is an easy and rewarding way to grow your own food at home. Whether you’ve accidentally left potatoes in your pantry too long or intentionally sprouted them for planting, this guide will walk you through the steps to turn those sprouted spuds into a thriving potato crop.
Why Plant Sprouted Potatoes?
Sprouted potatoes are perfect for planting because the sprouts are already a sign of growth. Instead of throwing them away, you can repurpose them to grow fresh, nutritious potatoes. It’s a sustainable and cost-effective way to garden while reducing food waste.
What You'll Need
- Sprouted potatoes
- A shovel or spade
- Rich, well-draining soil
- Garden gloves (optional)
- Watering can or hose
Step-by-Step Guide to Planting Sprouted Potatoes
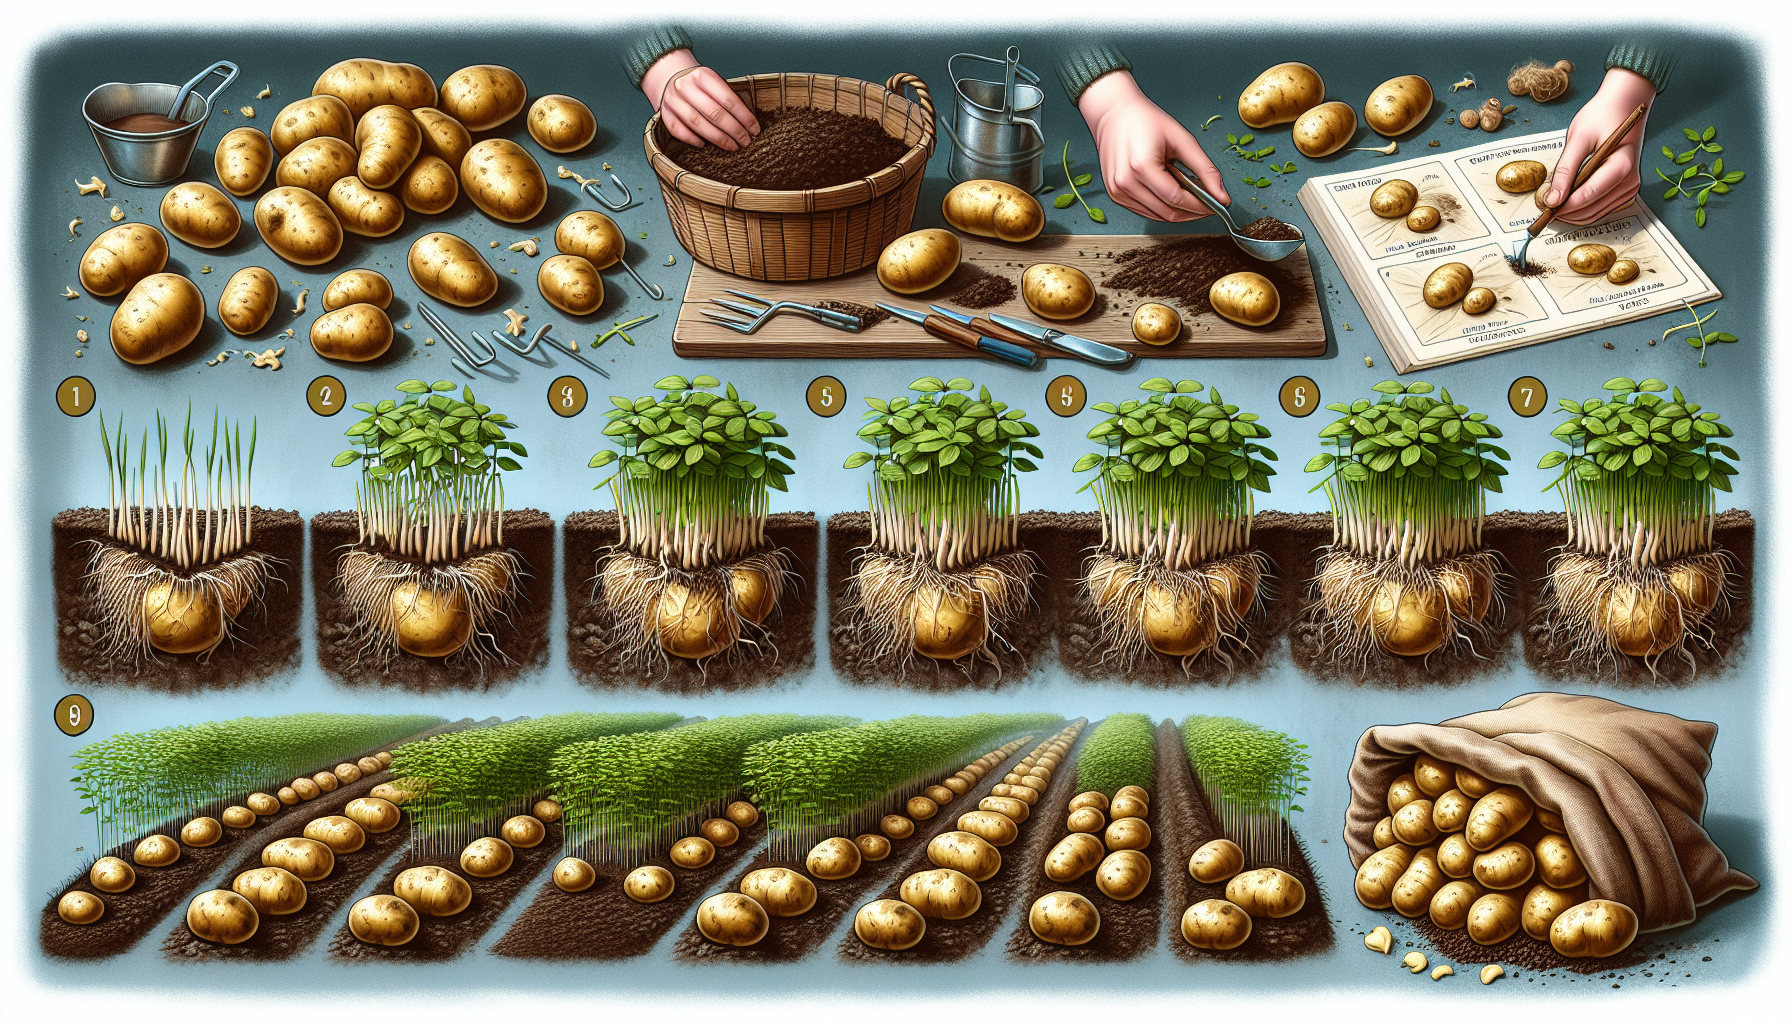
1. Prepare the Soil
Start by selecting a sunny spot in your garden with rich, well-draining soil. Potatoes thrive in soil that is loose and fertile. If your soil is heavy or clay-like, consider mixing in compost or sand to improve drainage and aeration.
2. Cut Larger Potatoes (Optional)
If your sprouted potatoes are large, you can cut them into smaller pieces, ensuring each piece has at least one sprout (or "eye"). Allow the cut pieces to dry for 1-2 days before planting to prevent rot.
3. Dig Holes for Planting
Using a shovel or spade, dig holes that are about 6-8 inches deep and spaced 12-15 inches apart. This will give your potato plants enough room to grow and spread.
4. Plant the Sprouted Potatoes
Place the sprouted potatoes (or potato pieces) into the holes with the sprouts facing upward. Cover them with soil, leaving about 4 inches of soil above the potato. As the plant grows, you can add more soil to cover the stems and encourage tuber formation.
5. Water Regularly
Water the soil thoroughly after planting, and keep it consistently moist but not waterlogged. Potatoes need regular watering, especially during dry spells, to ensure healthy growth.
6. Hill the Soil
As your potato plants grow, mound soil around the base of the plants every few weeks. This practice, called "hilling," protects the developing potatoes from sunlight exposure, which can turn them green and make them inedible.
7. Harvest Your Potatoes
After 70-120 days, depending on the potato variety, your plants will start to die back. This is a sign that your potatoes are ready to harvest. Gently dig them up with a spade or garden fork and enjoy the fruits of your labor!
Tips for Success
- Choose seed potatoes or sprouted potatoes that are free of disease and blemishes.
- Rotate your crops to prevent soil-borne diseases like potato blight.
- Avoid planting potatoes in overly wet or soggy soil, as they are prone to rot.
Conclusion
Planting sprouted potatoes is a fun and straightforward gardening project that can yield delicious results. With a bit of preparation and care, you’ll be harvesting your own homegrown potatoes in no time. Ready to get started? Grab those sprouted spuds and head to the garden!
If you found this guide helpful, check out our other gardening tips for growing fresh produce at home.