how to plant ranunculus bulbs
How to Plant Ranunculus Bulbs: A Step-by-Step Guide
Ranunculus flowers are a favorite among gardeners for their vibrant colors and lush, layered petals. Whether you're a seasoned gardener or a beginner, planting ranunculus bulbs (technically called corms) is a rewarding endeavor. In this guide, we’ll show you how to plant ranunculus bulbs and care for them to ensure a stunning display in your garden.
What Are Ranunculus Bulbs?
Ranunculus bulbs, or corms, resemble small, brown clusters of claws. Despite their unassuming appearance, they transform into breathtaking flowers that can brighten any garden or floral arrangement. These cool-season flowers thrive in full sun and well-draining soil, making them perfect for spring gardens.
When to Plant Ranunculus Bulbs
The best time to plant ranunculus depends on your climate:
- In cooler climates (zones 4-7): Plant ranunculus bulbs in early spring, after the last frost.
- In warmer climates (zones 8-10): Plant in the fall for winter and early spring blooms.
What You’ll Need
- Ranunculus bulbs (corms)
- Well-draining soil
- A garden bed, container, or raised bed
- Water
- Optional: Compost or organic fertilizer
How to Plant Ranunculus Bulbs
Step 1: Soak the Bulbs
Before planting, soak the ranunculus corms in room-temperature water for 3-4 hours. This helps them plump up and prepares them for planting. Avoid soaking for too long, as this can cause rot.
Step 2: Prepare the Soil
Choose a location with full sun and well-draining soil. If your soil is heavy or clay-like, consider mixing in compost or sand to improve drainage. Ranunculus bulbs are prone to rotting in overly wet soil, so good drainage is key.
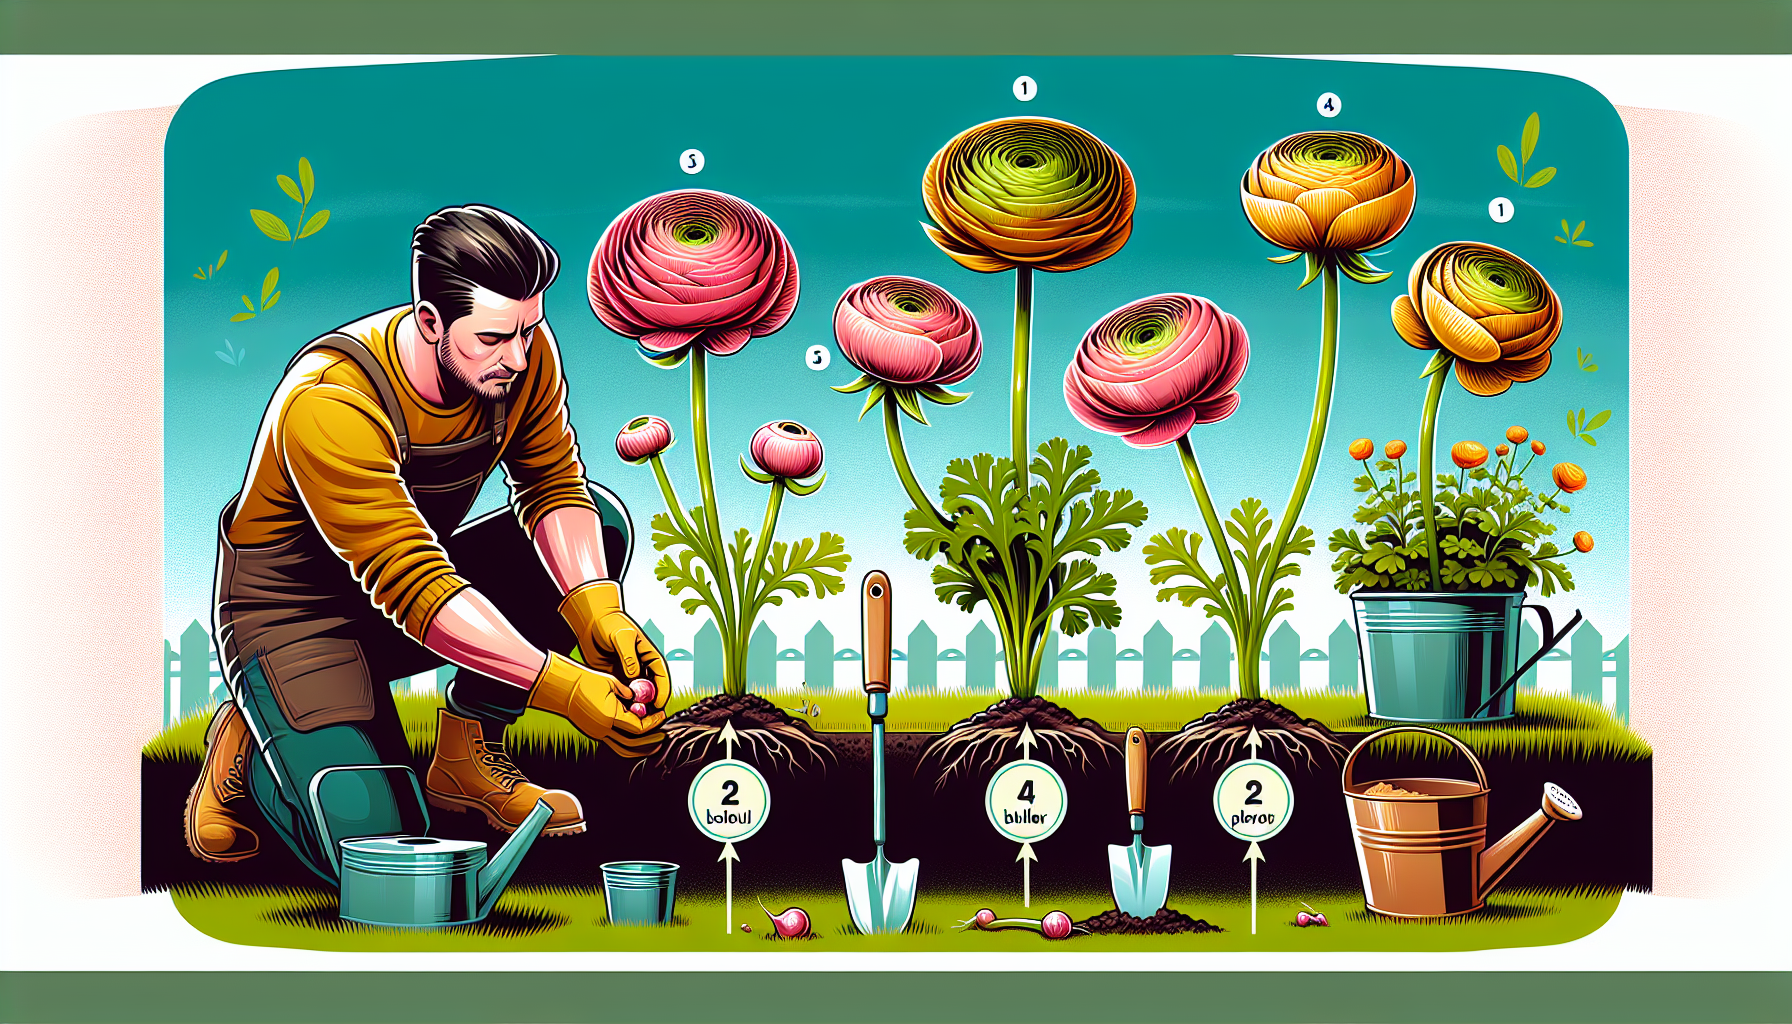
Step 3: Plant the Bulbs
Plant the corms with the "claws" facing downward and the pointed side up. Dig holes that are about 2 inches deep and spaced 4-6 inches apart. Cover the bulbs with soil and gently pat it down.
Step 4: Water Thoroughly
After planting, water the area thoroughly to help settle the soil around the corms. Moving forward, water sparingly until green shoots emerge, as overwatering can lead to rot.
Step 5: Care and Maintenance
Once the shoots appear, keep the soil evenly moist but not soggy. You can add a balanced fertilizer every few weeks to encourage healthy growth and blooms. Deadhead spent flowers to prolong blooming and keep your plants looking tidy.
When to Expect Blooms
Ranunculus typically bloom 90 days after planting. In warmer climates, fall-planted corms will bloom in late winter or early spring. In cooler climates, spring-planted corms will bloom in late spring or early summer.
Bonus Tips for Success
- Mulch around your plants to retain moisture and regulate soil temperature.
- Protect your plants from unexpected frost by covering them with a frost cloth or straw.
- Cut flowers regularly to encourage more blooms and enjoy fresh bouquets indoors.
Conclusion
Planting ranunculus bulbs is an easy and rewarding way to add a splash of color to your garden. By following these simple steps, you’ll be well on your way to growing healthy, vibrant ranunculus flowers that will brighten your outdoor space. Happy gardening!
Looking for more gardening tips? Check out our Gardening Tips section for expert advice and inspiration!