how to plant potatoes in a bag
How to Plant Potatoes in a Bag: A Step-by-Step Guide
Growing your own potatoes can be incredibly rewarding, and planting them in a bag is one of the easiest and most space-efficient methods to do so. Whether you have a small backyard, a balcony, or no garden at all, this guide will show you how to grow fresh, delicious potatoes at home.
Why Plant Potatoes in a Bag?
Planting potatoes in a bag has several advantages:
- Space-saving: Perfect for small spaces like patios or balconies.
- Mobility: You can move the bag to optimize sunlight exposure.
- Pest control: Reduces the risk of soil-borne pests and diseases.
- Easy harvesting: Simply dump the bag out to collect your potatoes.
What You’ll Need
Here’s what you’ll need to get started:
- A sturdy bag (grow bags, burlap sacks, or even a heavy-duty plastic bag will work).
- Seed potatoes (available at garden centers or online).
- Potting soil or compost.
- Fertilizer (optional but recommended).
- A sunny location.
Step-by-Step Instructions
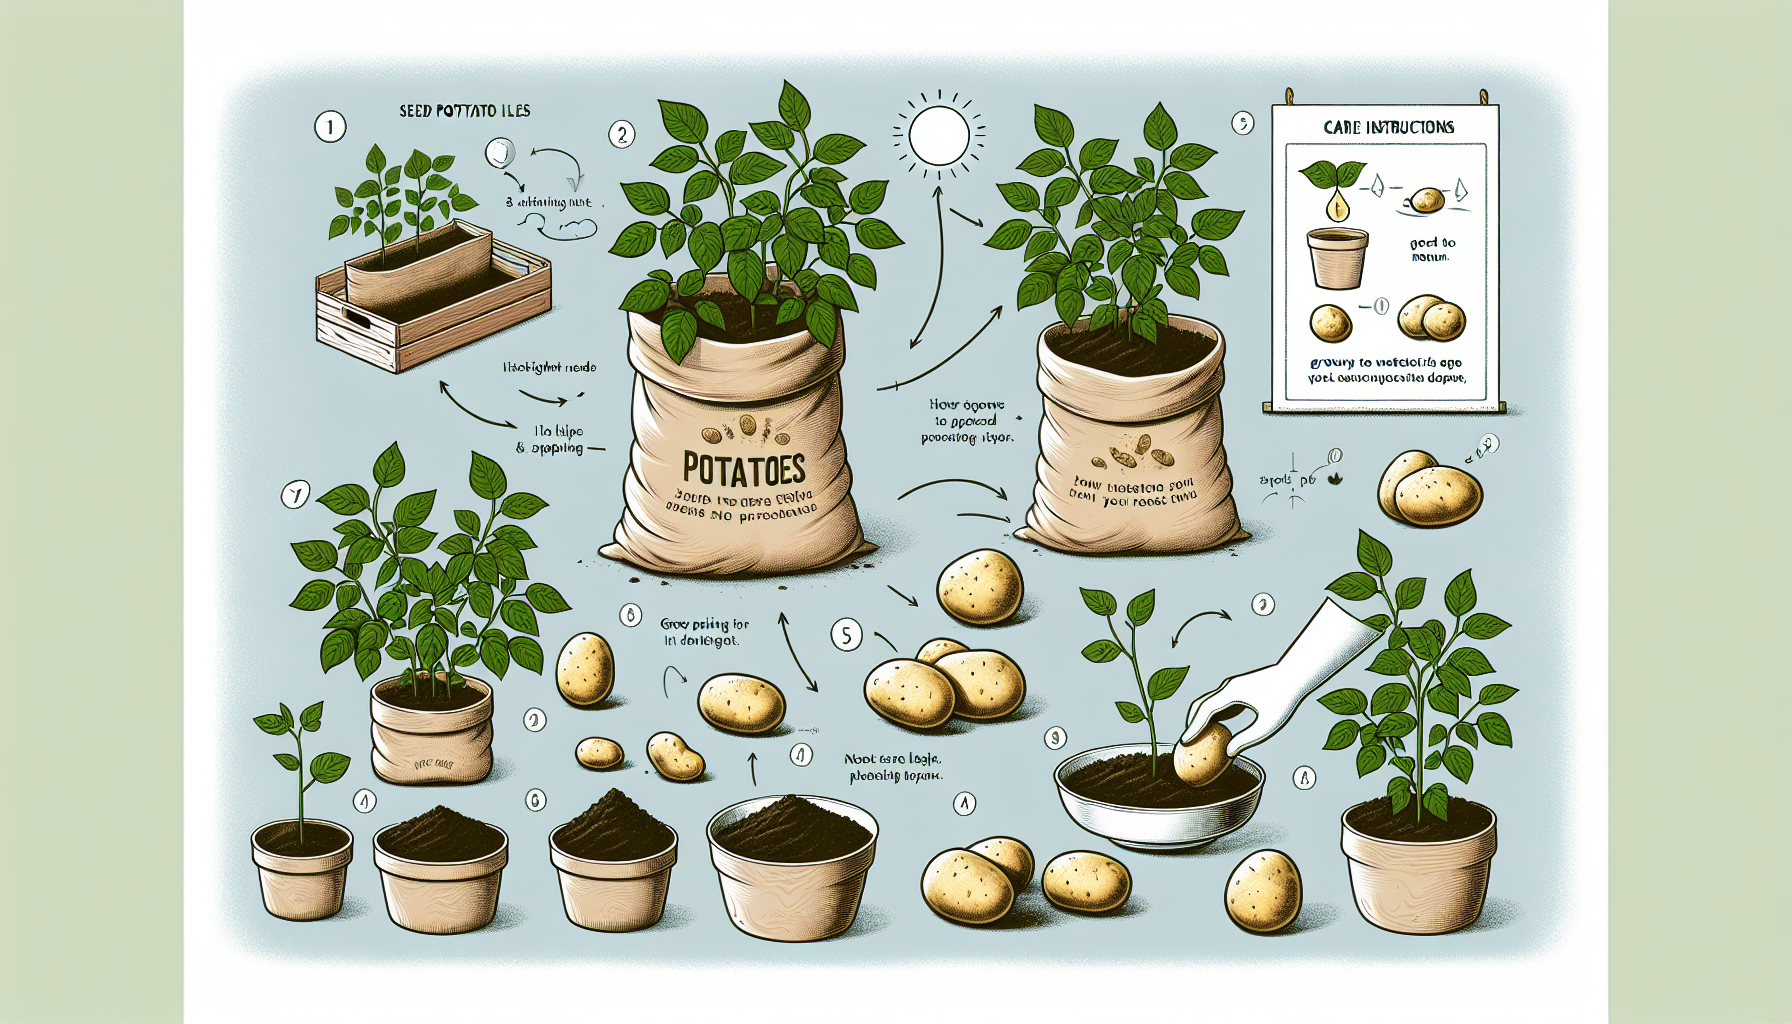
Step 1: Choose the Right Bag
Select a bag that is at least 15 gallons in size and has good drainage. If your bag doesn’t have drainage holes, make a few at the bottom to prevent waterlogging.
Step 2: Prepare the Bag
Fill the bottom of the bag with about 4-6 inches of potting soil or compost. Add a handful of fertilizer if desired and mix it in.
Step 3: Prepare the Seed Potatoes
Cut your seed potatoes into pieces, ensuring that each piece has at least one "eye" (the small indentations where sprouts grow). Let the pieces dry for a day or two to prevent rot.
Step 4: Plant the Potatoes
Place the seed potato pieces on the soil in the bag, with the "eyes" facing up. Leave a few inches of space between each piece. Cover the potatoes with 4-6 inches of soil.
Step 5: Water and Care
Water the soil thoroughly but avoid overwatering. Keep the soil consistently moist but not soggy. Place the bag in a sunny spot where it can get at least 6-8 hours of sunlight daily.
Step 6: Add Soil as the Plants Grow
As the potato plants grow, you’ll notice green shoots emerging. Once they reach about 6 inches tall, add more soil to cover the lower part of the stems, leaving the top leaves exposed. Repeat this process until the bag is almost full.
Step 7: Harvesting
After about 10-12 weeks, the plants will start to yellow and die back, indicating that your potatoes are ready to harvest. To collect your potatoes, simply dump the bag out and sift through the soil to find your crop.
Tips for Success
- Use high-quality seed potatoes to ensure a healthy crop.
- Don’t let the soil dry out completely; potatoes need consistent moisture.
- Keep an eye out for pests like aphids and treat them promptly if they appear.
Conclusion
Planting potatoes in a bag is a fun, easy, and efficient way to grow your own food at home. By following these steps, you’ll be able to enjoy fresh, homegrown potatoes in just a few months. Give it a try—you might be surprised at how satisfying it is to harvest your own crop!
For more gardening tips and tricks, check out our Gardening Tips section.